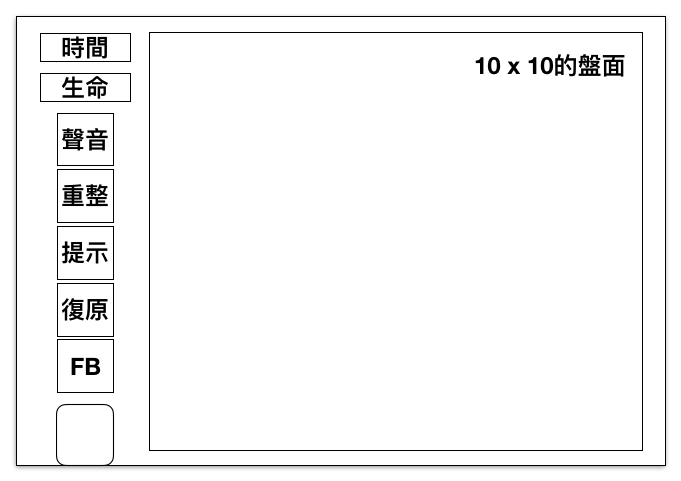
連連看連線及選擇題示
在進行遊戲時,清楚的玩家操作說明及互動是很重要的遊戲要素。因此,像一般的連連看遊戲,都會在玩家選擇圖示之後,把玩家所選擇的圖示做效果,提示玩家已經選擇了某個符號。並且在玩家選擇了第二個符號且連線成功時,會顯示所經過的路徑,並畫出一條線來消除這兩個符號,如下圖:
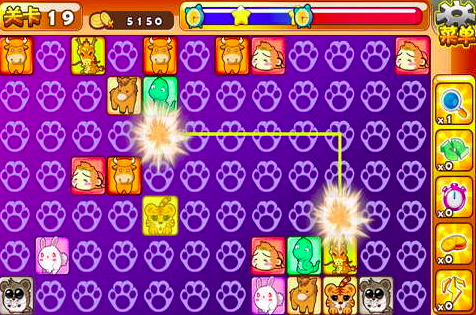
在這一篇裡,我們就要實做這樣的功能。
Graphics
這邊是官網使用Graphics的一個使用範例:Graphics
這是API說明:http://pixijs.download/release/docs/PIXI.Graphics.html
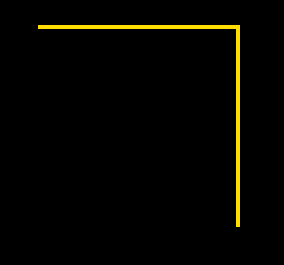
下面是畫線的一個簡單範例:
var app = new PIXI.Application(800, 600, { antialias: true });
document.body.appendChild(app.view);

var graphics = new PIXI.Graphics();

// set a line style
graphics.lineStyle(4, 0xffd900, 1);

// draw a shape
graphics.moveTo(50,50);
graphics.lineTo(250, 50);
graphics.lineTo(250, 250);
graphics.endFill();

app.stage.addChild(graphics);
成果如下:
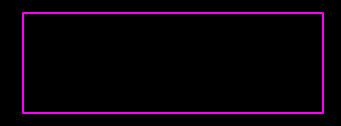
而這是畫矩型的一個簡單範例:
var app = new PIXI.Application(800, 600, { antialias: true });
document.body.appendChild(app.view);

var graphics = new PIXI.Graphics();

// draw a rounded rectangle
graphics.lineStyle(2, 0xFF00FF, 1);
graphics.beginFill(0xFF00BB, 0);
graphics.drawRoundedRect(150, 450, 300, 100, 1);
graphics.endFill();

app.stage.addChild(graphics);
成果如下:
為方塊加上選取效果
在過去,我們在產生方塊是直接new一個Sprite並加入場景,而現在方塊要能夠有被選取、取消選取的功能,因此我們將方塊拉出成為一個獨立的類別GameIcon。
其內容如下:
import Sprite = PIXI.Sprite;
import { Loader } from "../core/Loader";
export class GameIcon extends Sprite{
constructor(id,x,y) {
super();
this.texture = Loader.resources['Icon'].textures['icon_' + id];
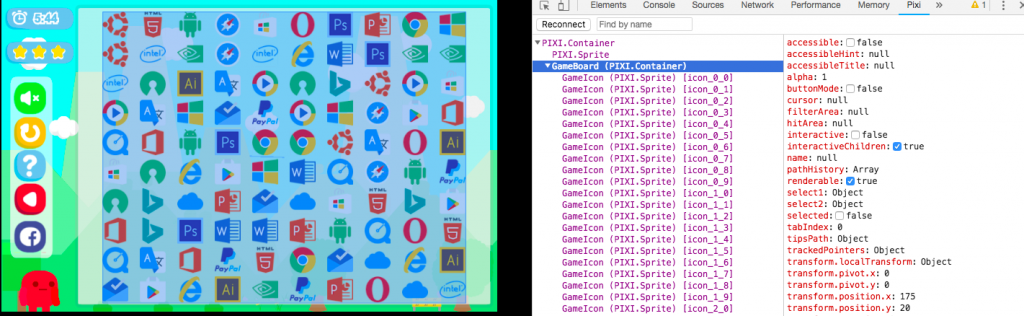
this.name = 'icon_' + x + "_" + y;//方便可以從父層更容易的取出這個方塊
this.width = this.height = 45;
this.x = (this.width + 20) * x + 22.5;
this.y = (this.width + 6) * y + 22.5;
this.anchor.set(0.5);//縮放時可以以中間為中心點
this.buttonMode = true;
this.interactive = true;
}
//選擇時,繪製邊框,顏色為紅色
select = ()=>{
let gt = new PIXI.Graphics();
gt.lineStyle(3,0xFF0000,1);
gt.drawRect(-3-22.5,-3-22.5,51,51);
gt.endFill();
this.addChild(gt);
}
//取消選擇時,將邊框拿掉
unSelect = ()=>{
this.removeChildren();
}
}
接著我們在GameBoard.ts裡,撰寫兩個方法iconSelected及iconUnSelected如下:
    iconSelected = (point:Point)=>{
        //根據在GameIcon設定的name來取得正確位置上的方塊
        let icon = this.getChildByName('icon_'+point.x+"_"+point.y) as GameIcon;
        icon.select();
    };

    iconUnSelected = (point:Point)=>{
        let icon = this.getChildByName('icon_'+point.x+"_"+point.y) as GameIcon;
        icon.unSelect();
    };
然後改寫GameBoard.ts裡的createIcon方法
    createIcon = (id, x, y)=>{
        let icon = new GameIcon(id,x,y);//id為要顯示的圖片編號,x,y為位置
        this.addChild(icon);
        let iconClickHandler = ()=>{
            if (this.selected) {
                let selectCorrect = false;
                this.select2 = new Point(x, y);
                this.iconSelected(this.select2);//將方塊加上紅框
                setTimeout(()=>{//為了避免第二個方塊都還沒有繪製到邊框就被取消掉,因此在此增加setTimeout
                    if (board.hasSameValue(this.select1, this.select2)) {
                        if (! (this.select1.x == x && this.select1.y == y) ) {
                            let path = new Path(this.select1, this.select2, board);
                            if(path.canLinkInLine()){
                                this.clearIcon(this.select1);
                                this.clearIcon(this.select2);
                                eventEmitter.emit(GameFlowEvent.LinkedLineSuccess);
                                selectCorrect = true;
                                //判斷還有沒有路走
                                if(board.gameRoundEnd()){
                                    alert("恭喜完成遊戲!");
                                    this.createNewGame();
                                }else if(board.getFirstExistPath() == null){
                                    this.reloadTimes--;
                                    board.rearrangeBoard();
                                }
                            }
                        }
                    }
                    if(selectCorrect){
                        SoundMgr.play('Sound_select_crrect');
                    }else{
                        SoundMgr.play('Sound_select_error');
                        //不能消除,取消紅框
                        this.iconUnSelected(this.select1);
                        this.iconUnSelected(this.select2);
                    }
                    this.selected = false;
                },0);

            } else {
                this.select1 = new Point(x, y);
                this.iconSelected(this.select1);//將方塊加上紅框
                this.selected = true;
                SoundMgr.play('Sound_select_1');

            }
        };
        icon.on("click", iconClickHandler);
        icon.on("tap", iconClickHandler);
    }
為消除加上連線路徑
當成功消除兩個方塊時,應該要有剛剛連線的路徑,這樣使用者才能夠確定連線的方式是正確的,現在我們要為遊戲加上這個功能。
我希望能夠在盤面的上方加上一層圖層,能夠繪製剛剛成功消除的方塊的連線路徑。之前我們在[6 – 遊戲邏輯] 連線消除程式撰寫的地方,所撰寫的Path類別若呼叫canLinkInLine()結果反回為true的話,同時亦會把所經的路徑的點塞入path_Detail這個陣列裡面。
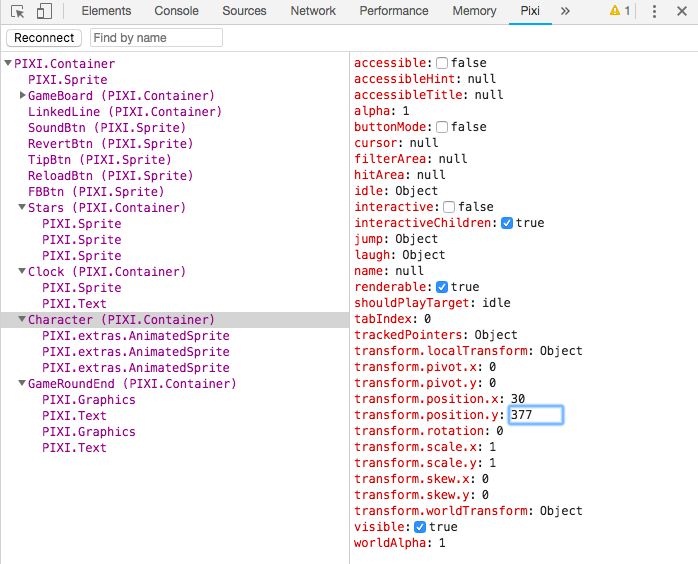
所以這個類別的主要職責,應該是要能夠把輸入的path裡的路徑畫出來。為了要使這個圖層能更方便的在各個地方被取用,我使用了singleton方法來建立這個物件,這樣所有的類別都可以利用LinkedLine.instance來取得這個元件惟一的實體。
下面為LinkedLine.ts的資料
import Container = PIXI.Container;
import Point = PIXI.Point;
import { Path } from "../core/Path";

export class LinkedLine extends Container {

    constructor() {
        super();
        this.x = 175;
        this.y = 20;
    }

    //將這個類別設定為singleton類別
    private static _instance:LinkedLine;
    public static get instance():LinkedLine{
        if(this._instance == null){
            this._instance = new LinkedLine();
        }
        return this._instance;
    }

    //輸入一個path物件,藉由paths.path_Detail來畫出連線
    public drawPath(paths:Path){
        this.removeChildren();
        let point = paths.path_Detail.pop();//取出第一個點
        let gt = new PIXI.Graphics();
        gt.lineStyle(5, 0xff0000);
        let start = this.getPositionFromPoint(point);
        gt.moveTo(start.x,start.y);//先移到第一個點的位置
        do{
            point = paths.path_Detail.pop();//取出後面的點
            let line = this.getPositionFromPoint(point);
            gt.lineTo(line.x,line.y);//繪製連線
        }while(paths.path_Detail.length > 0);

        this.addChild(gt);

        //設定連線會在500毫秒後自動消失
        setTimeout(()=>{this.removeChildren();},500);
    }
    //把遊戲盤面的x,y系統轉化為畫面上實際的坐標系統
    public getPositionFromPoint(point:Point){
        let x = (45 + 20) * point.x + 22.5;
        let y = (45 + 6) * point.y + 22.5;
        if(y < 0){
            y = -5;
        }
        if(y > 502){
            y = 510;
        }
        return new Point(x, y);
    }
}
接著在GameBoard.ts裡連線成功時加上這行來繪製連線
LinkedLine.instance.drawPath(path);
並在GameScene.ts裡加上LinkedLine元件
application.stage.addChild(LinkedLine.instance);
今日成果
線上demo:http://claire-chang.com/ironman2018/1105/
今日成果下載:ironman20181105